

LONGARM QUILTING
Longarm Quilting Facts:
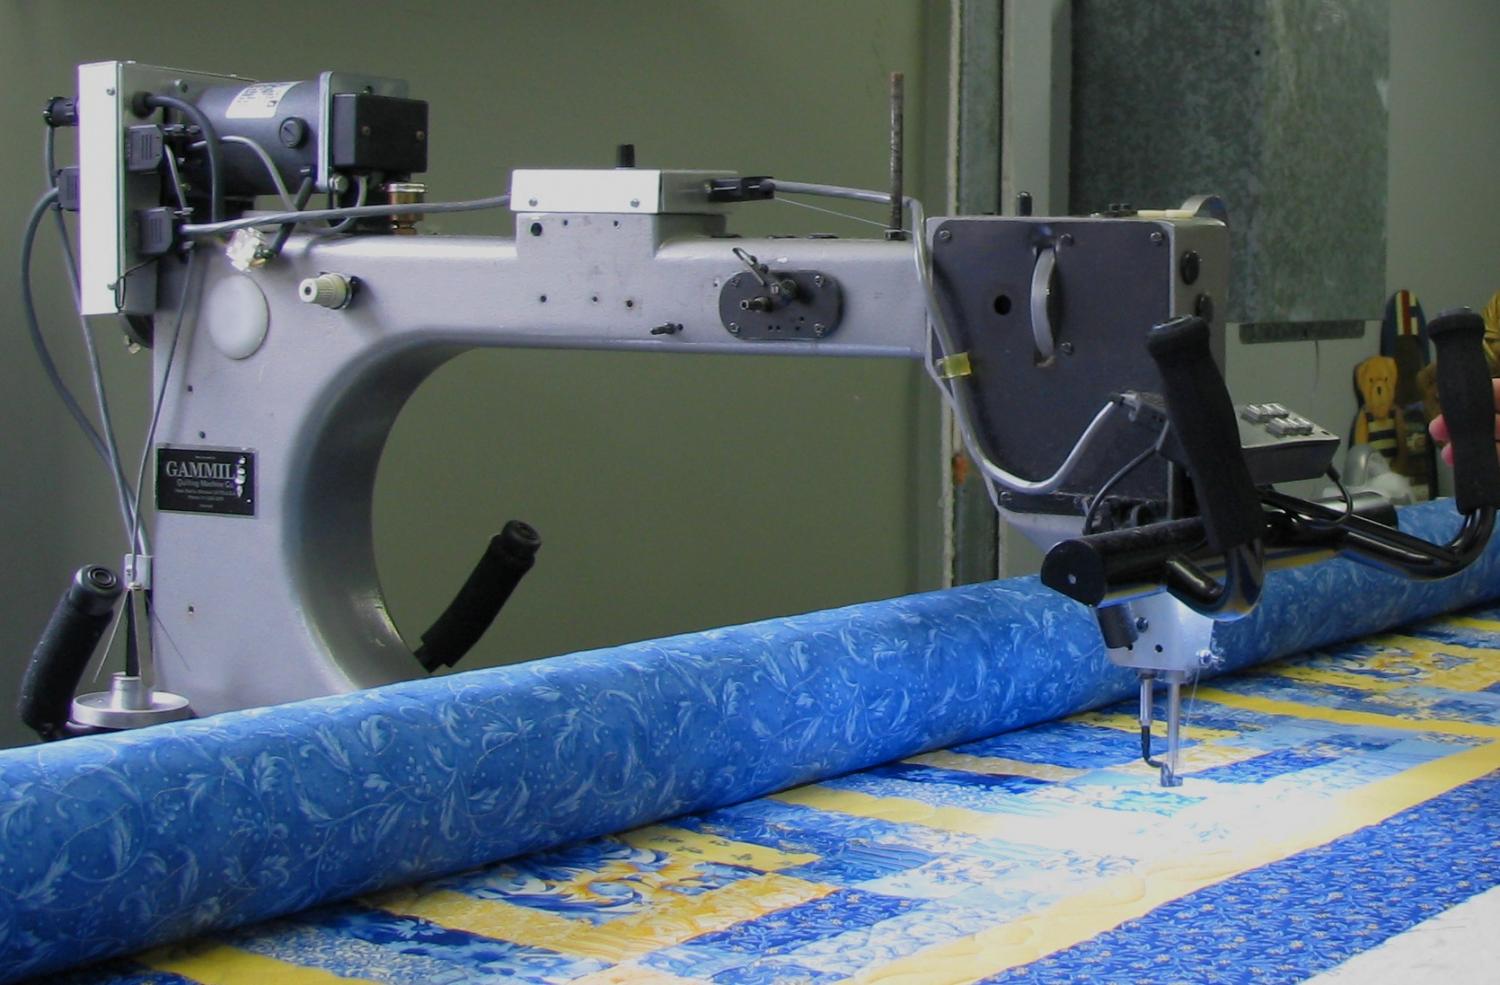
What is longarm quilting? The process of uniting a pieced quilt top or fabric panel with the batting (the stuff that makes the quilt warm and cuddly also known as ‘wadding’) and a fabric backing using a sewing machine mounted on a table and rails.
The sewing machine is specifically designed for this purpose and creates a large area in which the stitched design can be created. The designs can be created by the operator of the machine by using a set of handles mounted at the front of the machine; this process is usually a freehand (custom) design. Preprinted patterns can be used at the front of the machine as well.
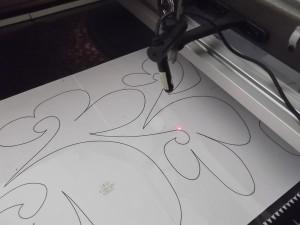
On the back of the machine are 2 handles where the operator moves the machine while following a printed pattern with a small laser light mounted on the side of the machine. As the pattern is traced with the laser, the machine stitches the pattern on the fabric sandwich at the front of the machine. As the rows of quilting are finished and a new area is needed the quilt is rolled onto a large roller at the back of the machine.
Edge to Edge (Pantograph):
Hand guided designer patterns for all over quilting from top to bottom, side to side, using one color of thread, average density - $2.50 - $3.75 per square foot. Patterns are available to compliment the themes found in your completed quilt top.
Preparing Your Quilt Top:
click for printable instructions
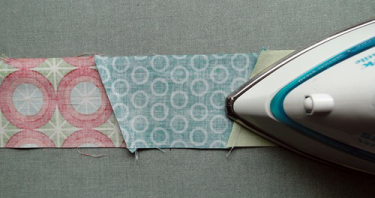
♦ Press all seams in one direction; take care to ensure all seams are flat and not twisted, be careful to not distort your top by overly rough pressing and handling. Carefully fold and hang on a hanger when finished.
♦ Ensure all seams are strong and free of holes – loose seams and hanging threads can catch the hopping foot of the longarm which can cause tucks on the surface of your quilt and sometimes tears. Please pay careful attention to this step.
♦ Be sure all seams ending at the outside borders are backstitched. When the quilt is loaded on the machine for quilting some pressure is applied by rolling onto the rollers, this can cause poorly stitched seams to come apart. If you are not a backstitcher please run a line of stitching slightly less than 1/4 of an inch inside the the edge of your top all the way around the perimeter to secure the edges.
♦ Clip all loose threads showing on the front.
♦ Please be sure that your borders are straight and square – wavy borders will not quilt out!!! I can provide you with instructions for adding borders if you need them. Taking a little extra care when applying borders will add up to a quilt which hangs straight and square.
♦ Mark the center of the top and backing with a safety pin; this is especially important if the fabrics are directional. It assists me when loading the quilt to determine the direction of the quilting and ensures directional quilting runs the proper way on your finished quilt.
♦ Quilt tops with high contrast colour schemes can be particularly challenging; seams need to be carefully pressed in one direction to ensure darker fabrics do not show through the lighter fabrics.
♦ Dark threads used in piecing and not cleaned off of the back of the quilt can get quilted into the finished quilt and detract from the finished beauty of your quilt. and are then a permanent part of your quilt – please ensure all threads are removed before quilting as they can show through. Raveled and frayed edges can also be a problem; minimize the amount of handling to prevent fraying. Before quilting your top should be folded right side out to minimize damage and fraying to the wrong side.
♦ Clean the top and backing of any lint / pet hair.
Sizing of Batting and Backing
You MUST provide backing and batting that is at least 6-8 inches larger than your top – all the way around the quilt. i.e if your top is 80 x 90 inches then your back needs to be 86-88 x 96-98 inches. This ensures the quilt can be loaded properly on the machine and that any ‘take-up’ caused by the quilting will not cause a shortage of materials. Please ensure your back and batting are not excessively big; this can cause difficulty in handling while on the machine.
Use 100% cotton fabrics for your backing. Please avoid the use of sheets and sheeting as these can cause tension problems on the machine. Polyester, and Poly blend backs can cause pilling and encourage batting to beard - they are best avoided.
Ensure that all selvage edges are removed along seams, and that seams are stitched using properly balanced machine stitching of 12 stitches per inch - use a 5/8 inch seam.
Backstitch the beginning and end of all seams.